Apify
Let's learn how to connect Engini to Apify.
This integration connects Engini workflows with Apify’s web scraping and automation capabilities, allowing you to run Actors, collect web data, and use the results directly in your automated processes.
To get started, create an account at Apify.
Add a Connection to Apify in Engini
Prerequisites
- An Apify account.
- A Personal API Token from Apify.
Connecting Engini to Apify
- Enter your Engini account at https://app.engini.io.
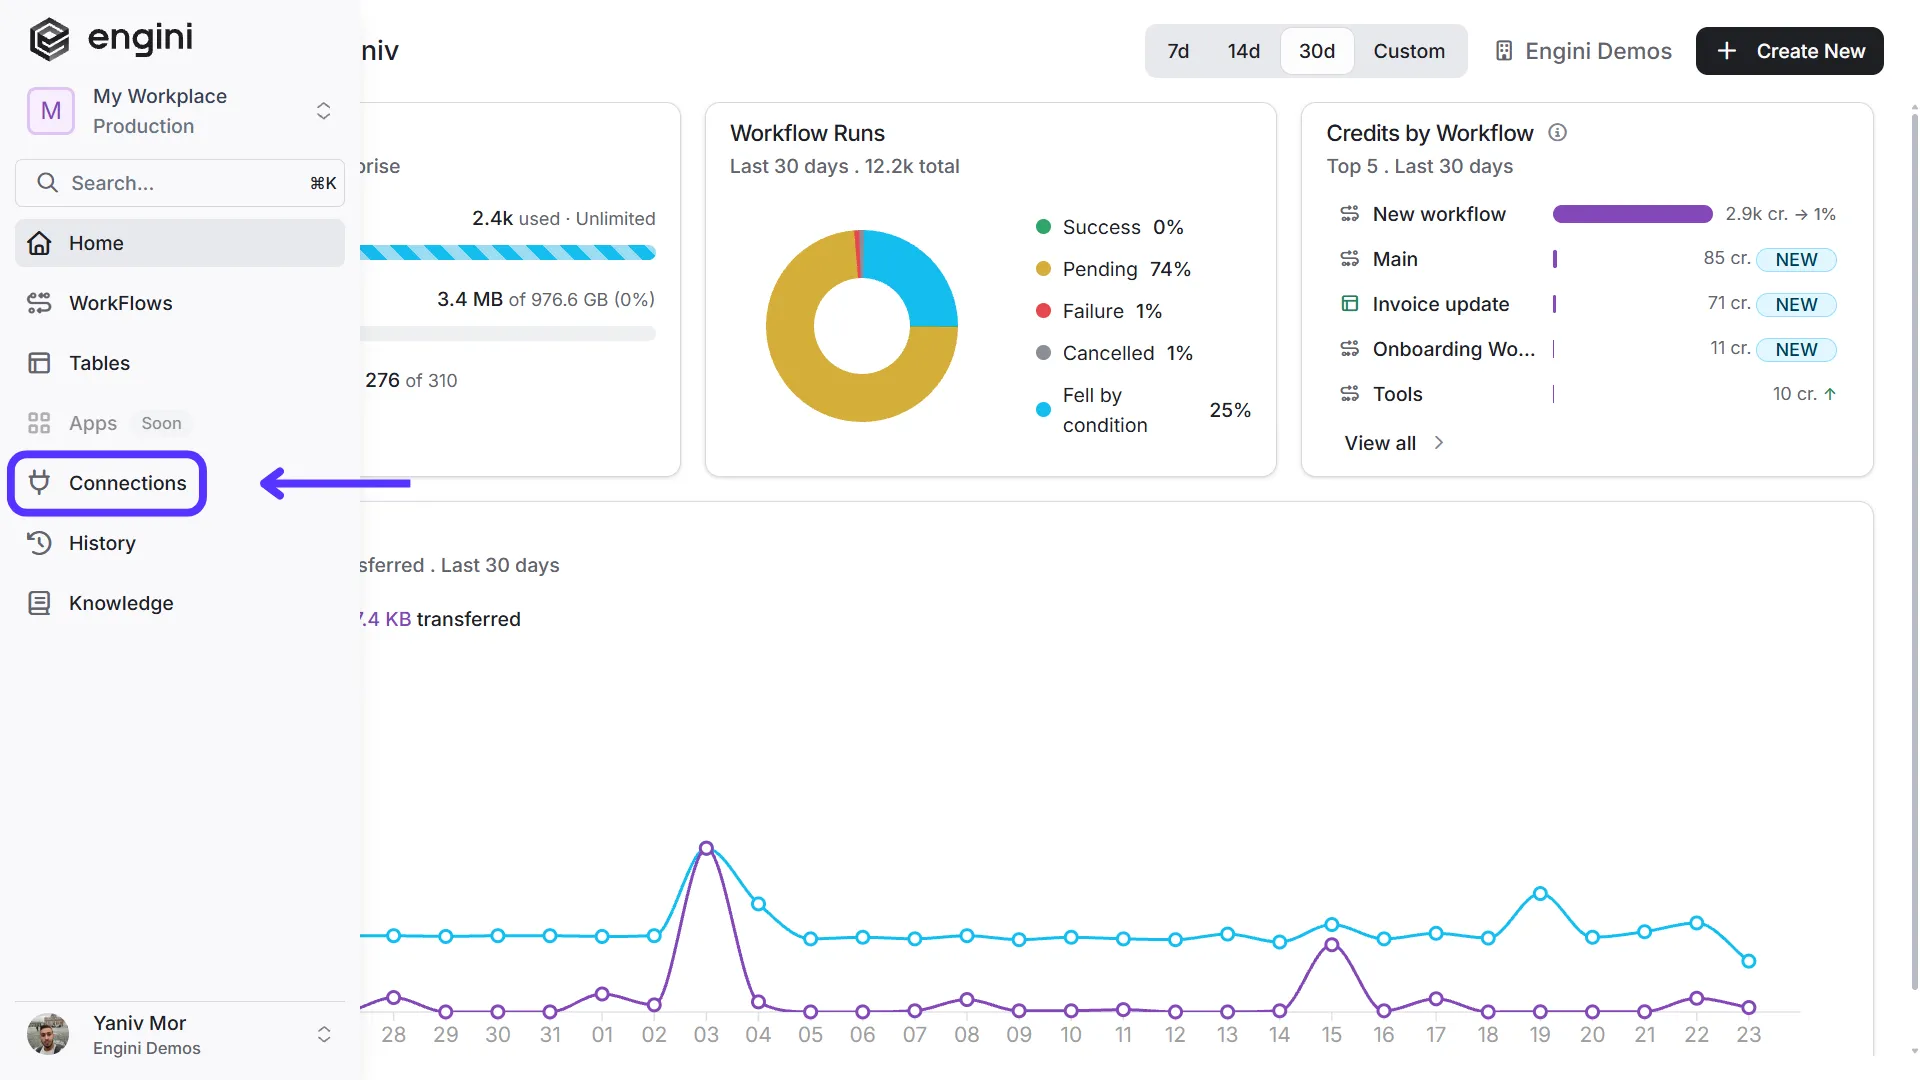
- Navigate to the Connections page by clicking on Connections in the left sidebar or by clicking here.
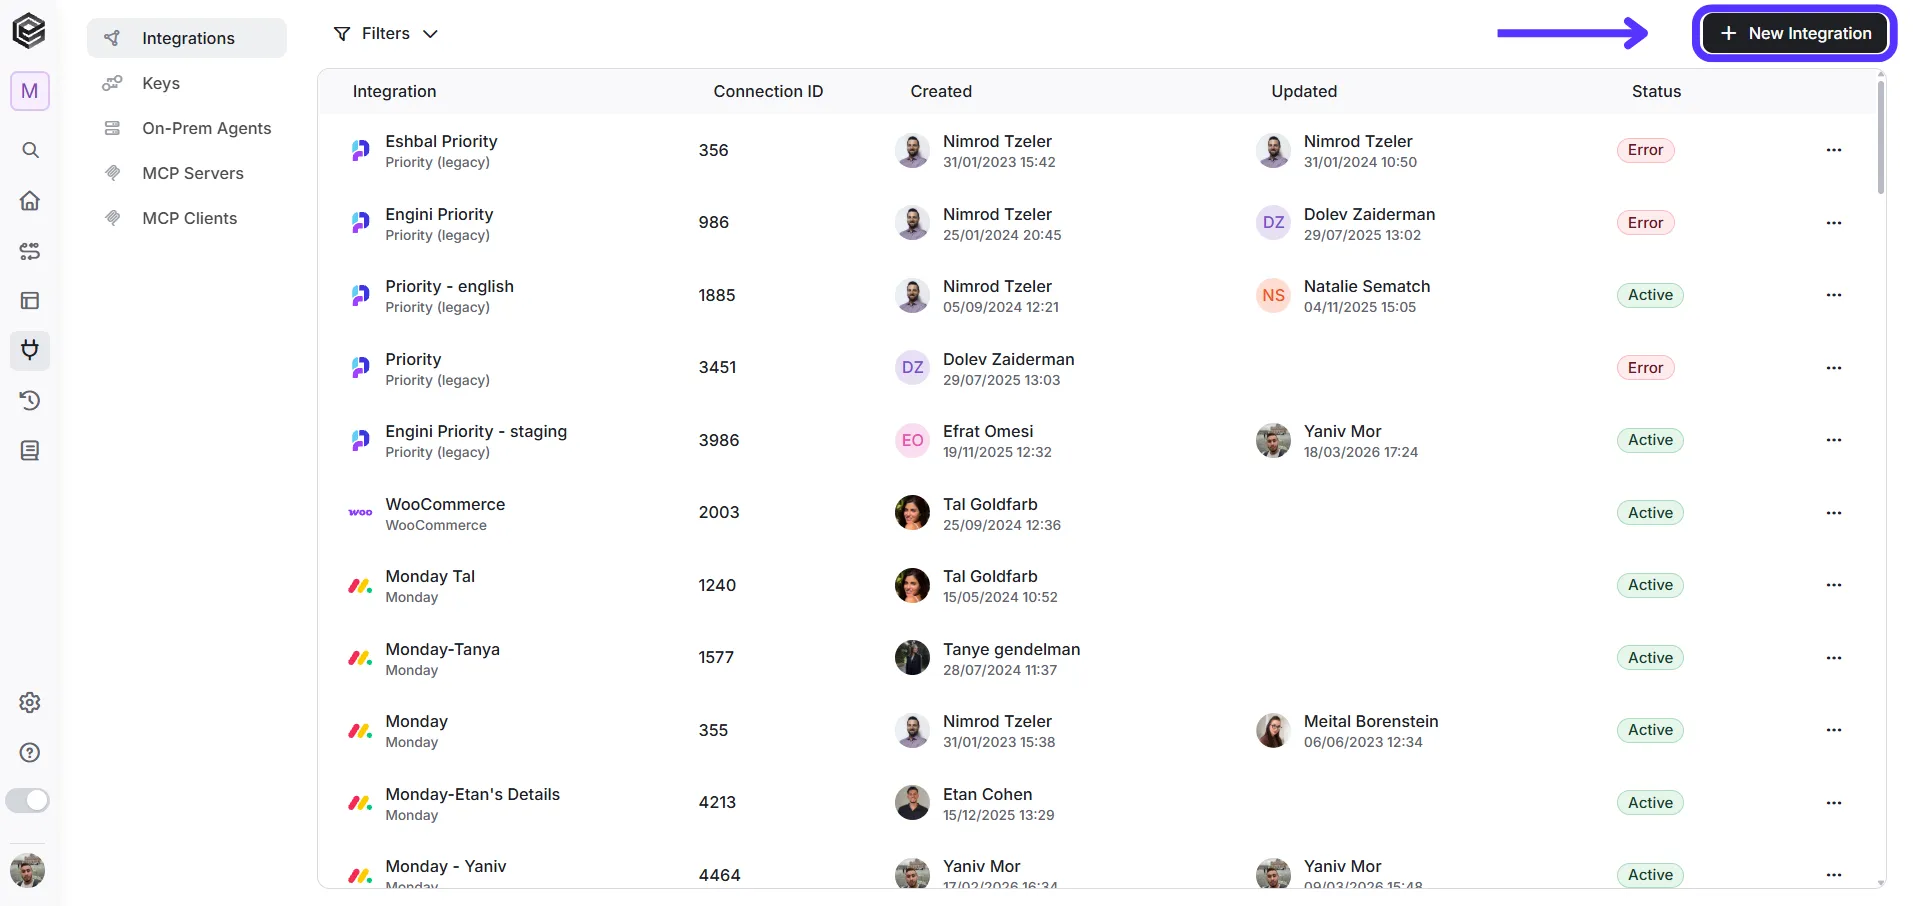
- Click on the "New Integration" option located at the top bar.
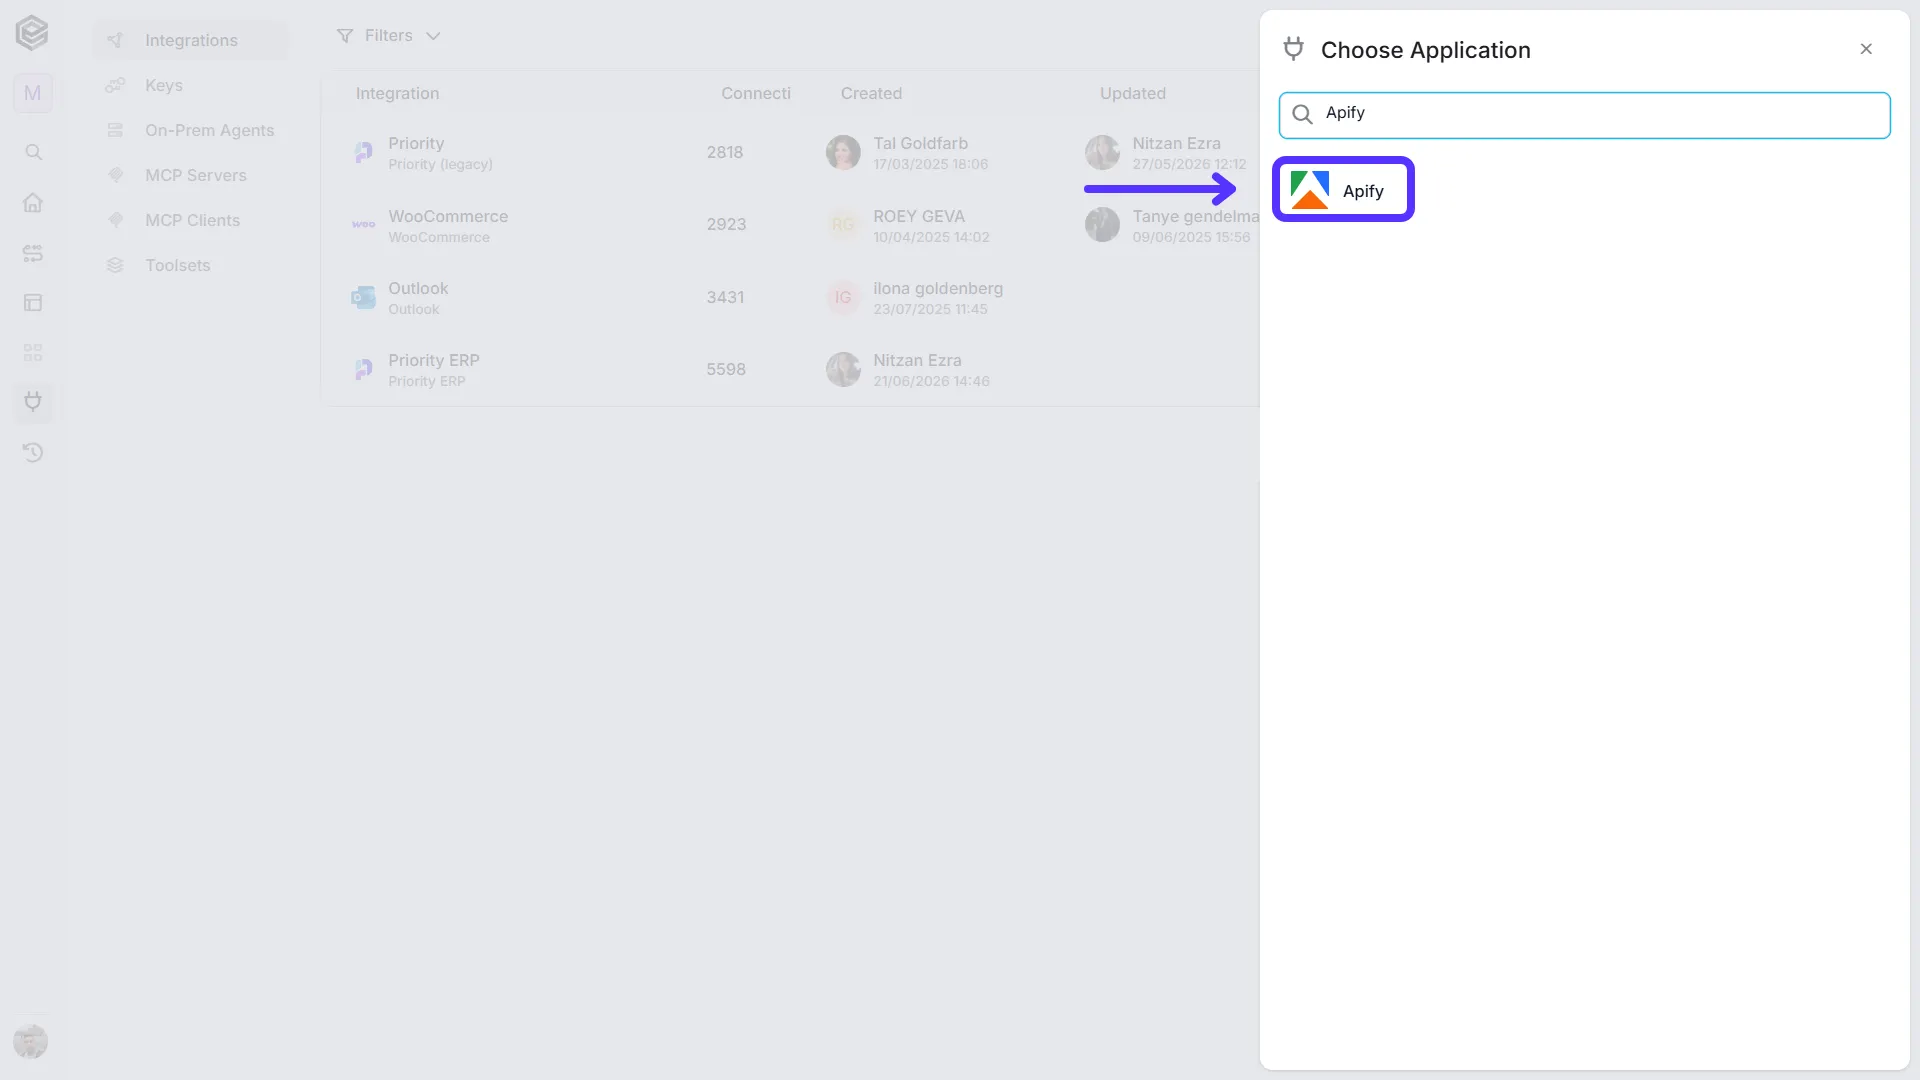
- Choose the Apify option from the available applications.
- Enter the following details in the “New Integration” form and press Save:
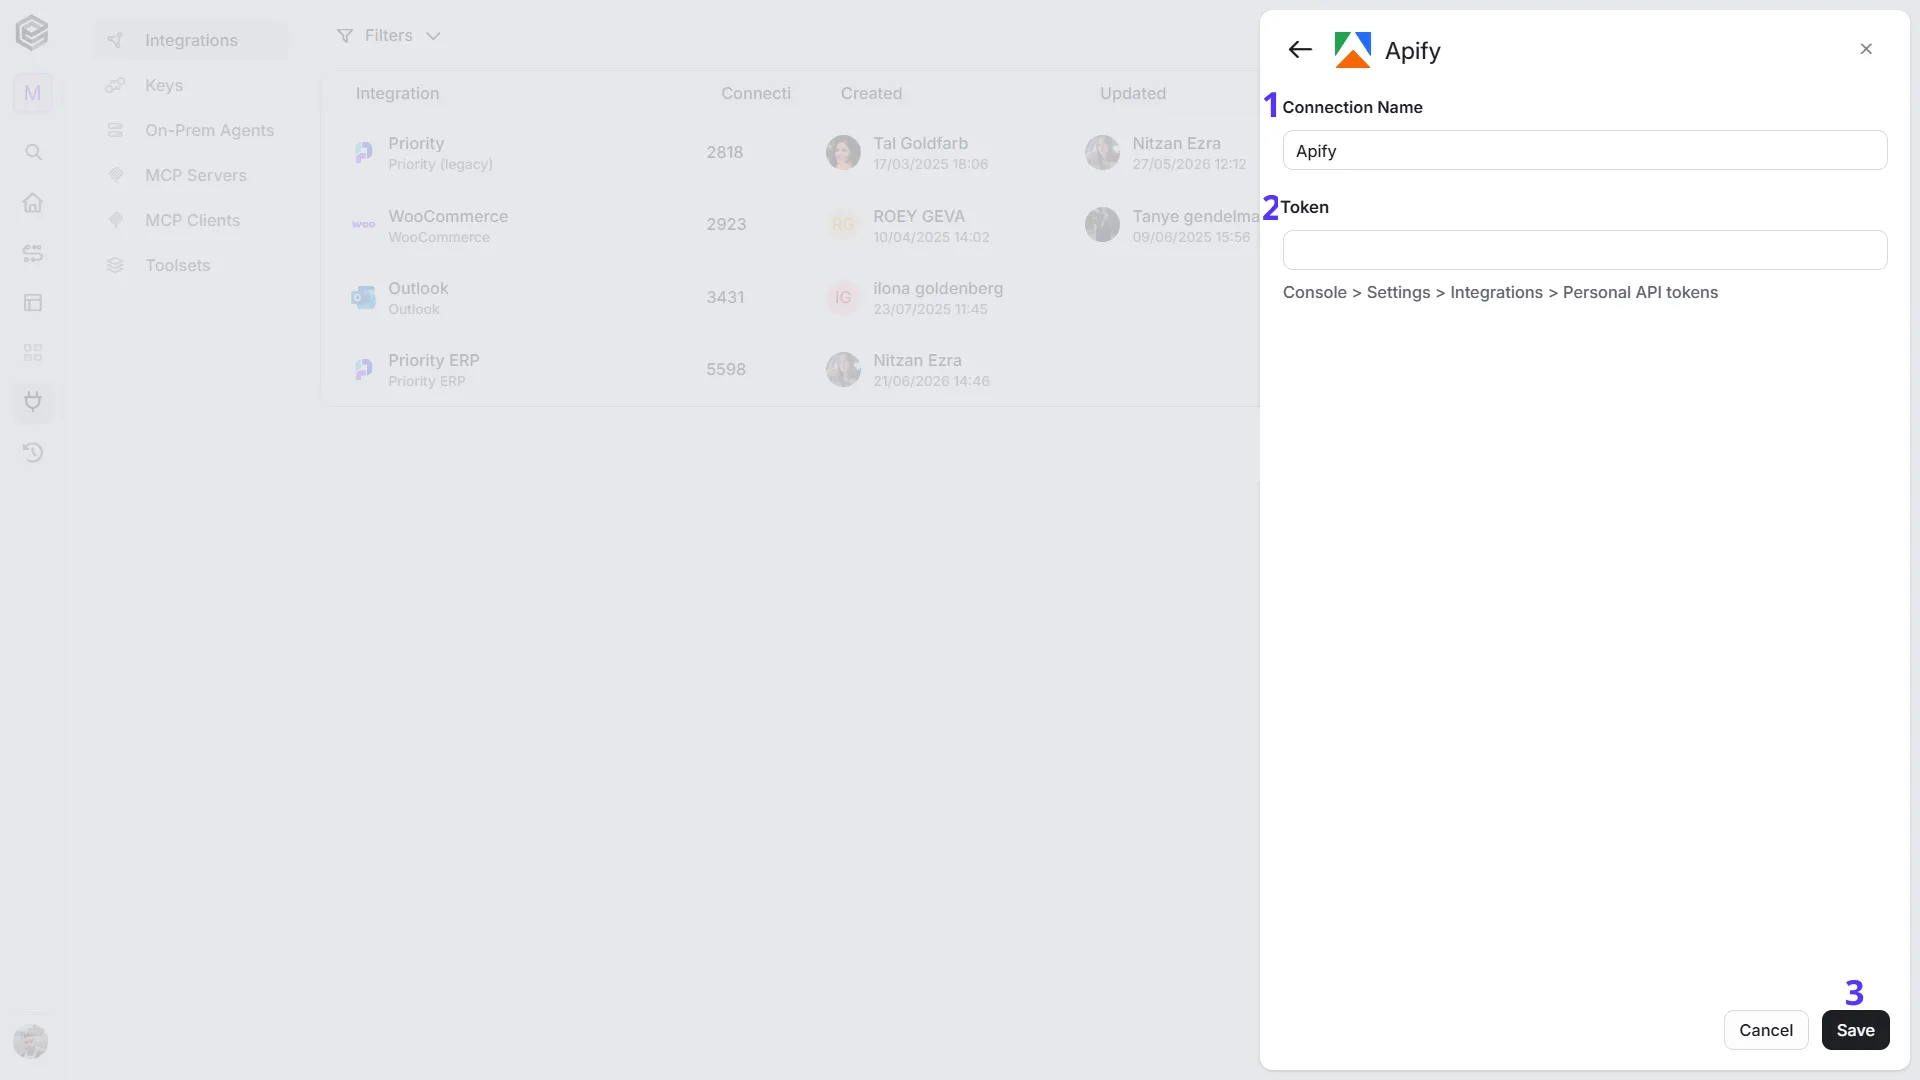
- Connection Name - Enter a name that helps identify the Apify connection.
- Token - Enter your Apify Personal API Token. You can find it in Apify under: Console > Settings > Integrations > Personal API tokens.
- Save - Click Save to create the connection.
Engini sends the token with every Apify request made through this connection, so you don't need to add it to any trigger or action.
Triggers
Actor Run Finished
The Actor Run Finished trigger starts the workflow when an Apify Actor run reaches the selected event status. You can monitor a specific Actor or leave the Actor ID empty to watch all Actor runs.
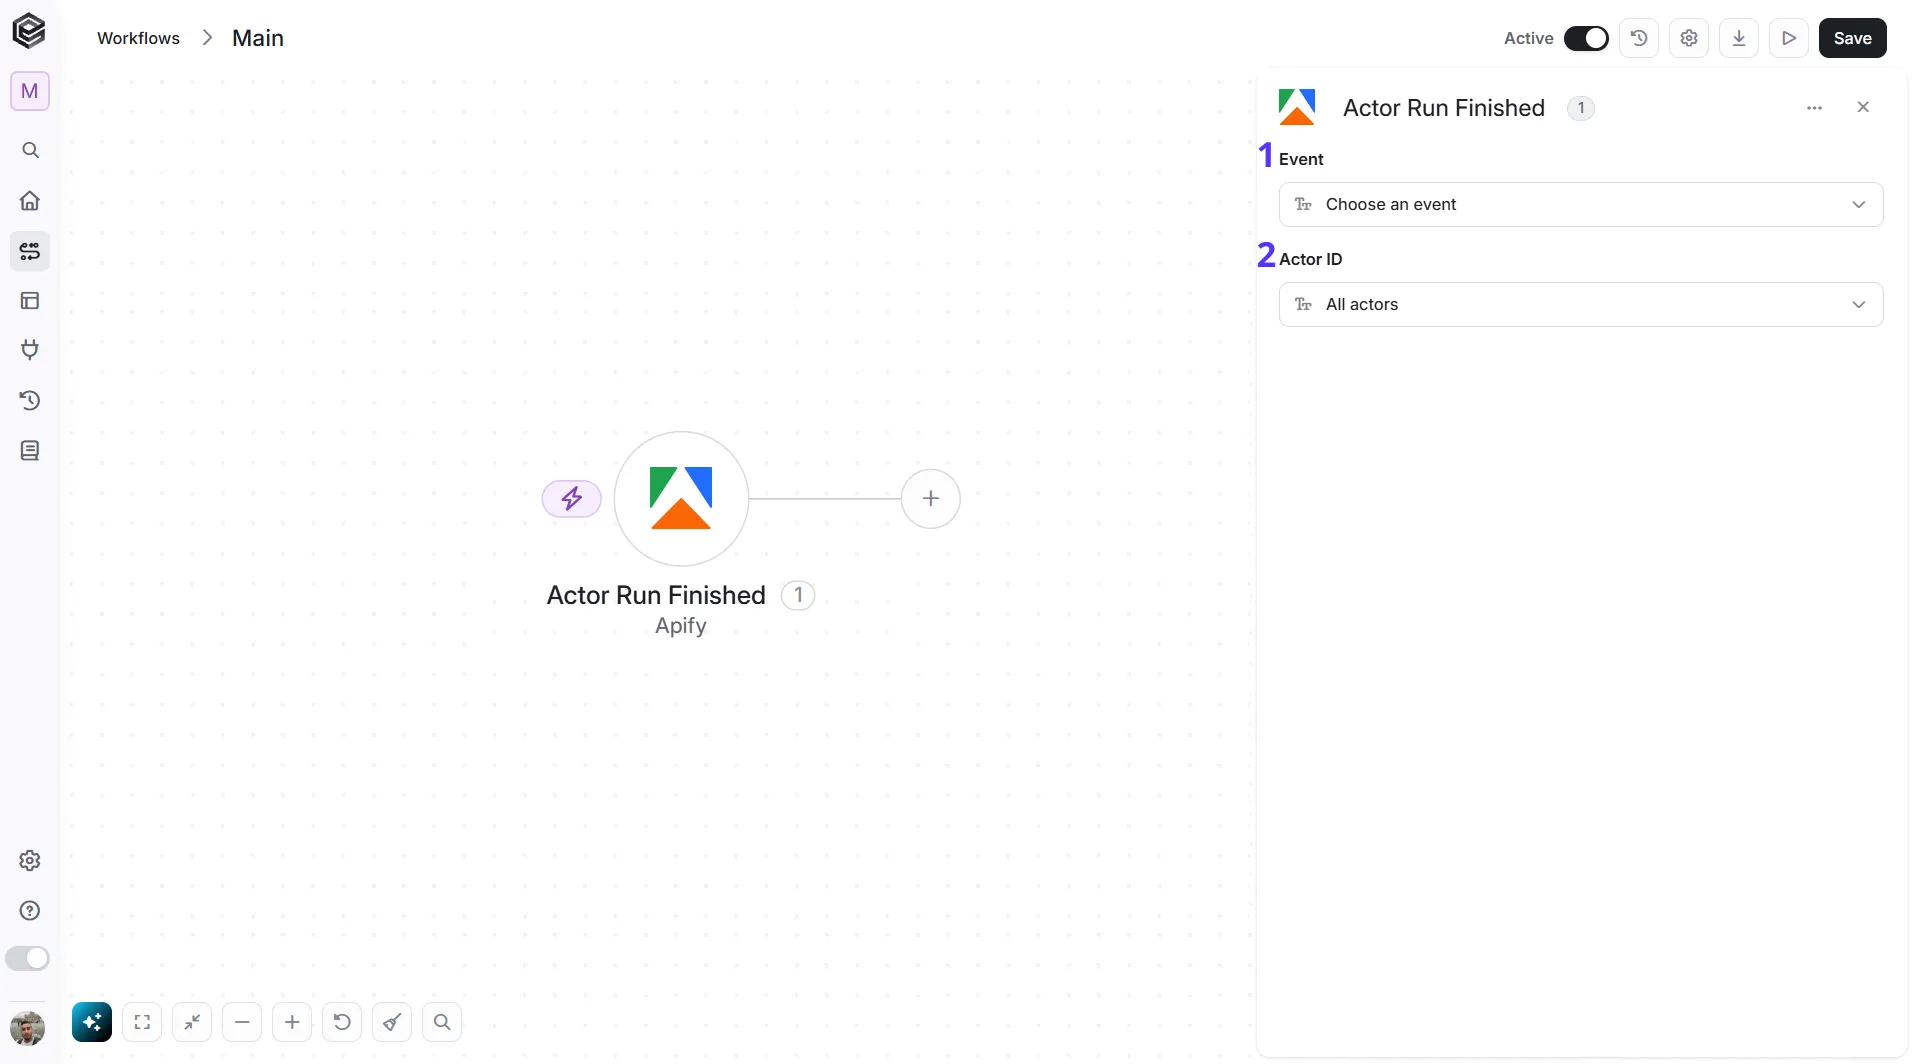
- Event - Select the Actor run event that should trigger the workflow. The available events are Run created, Run succeeded, Run failed, Run aborted, Run timed out and Run resurrected. The field starts empty.
- Actor ID - Select or enter the Actor you want to monitor. Optional; leave it blank (the field shows "All actors") to watch every Actor.
Note: Some fields may appear optional in the Designer, but Apify may still require them for the trigger or action to run successfully.
Task Run Finished
The Task Run Finished trigger starts the workflow when a run of an Apify Task reaches the selected event status. A Task is a saved Actor configuration with its own input. You can monitor a specific Task or leave the Task ID empty to watch all Task runs.
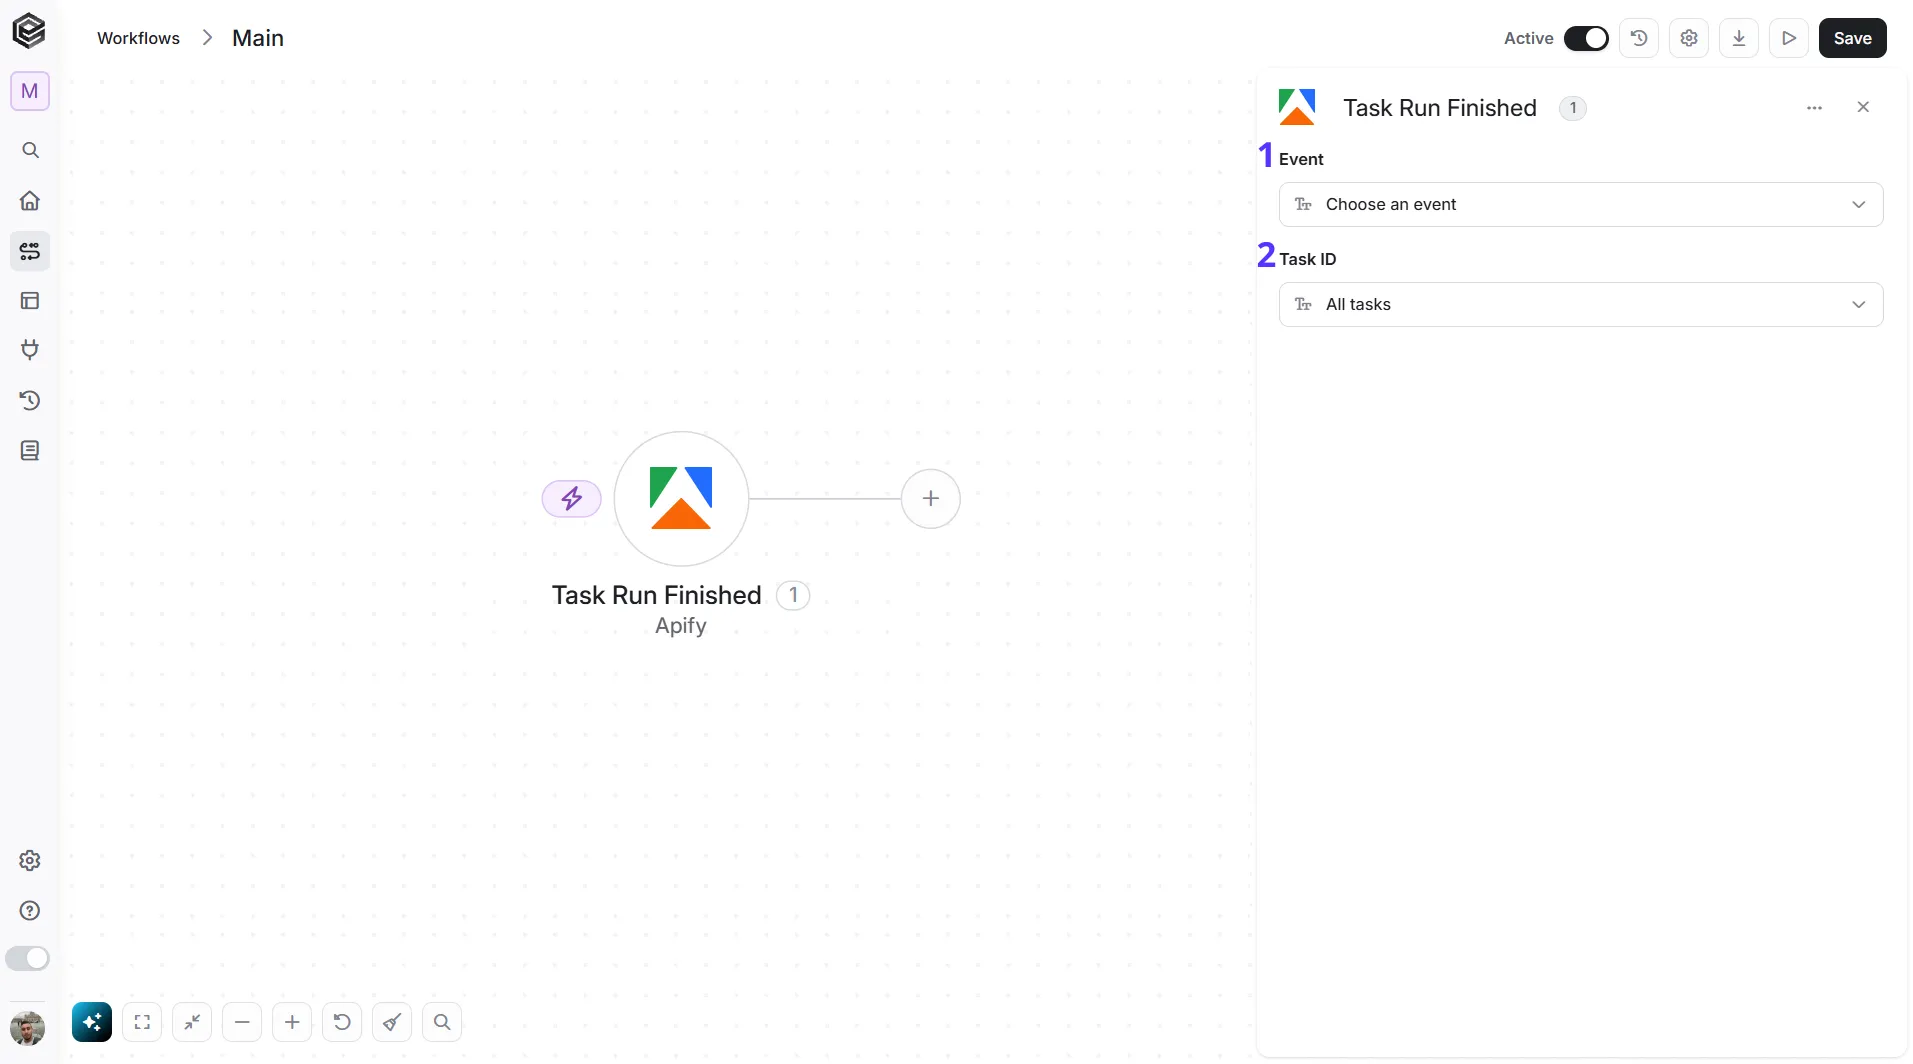
- Event - Select the Task run event that should trigger the workflow. The available events are the same as in the Actor Run Finished trigger. The field starts empty.
- Task ID - Select or enter the Task you want to monitor. Optional; leave it blank (the field shows "All tasks") to watch every Task.
Actions
Apify runs work in the background: you start a run with Run Actor or Run Task, check it with Get Run or with the triggers above, and then read its results with Get Dataset Items or Get KV Store Record.
Get Dataset Items
Retrieves the items stored in an Apify dataset. Actors usually save their main results, such as scraped pages or extracted records, to a dataset.
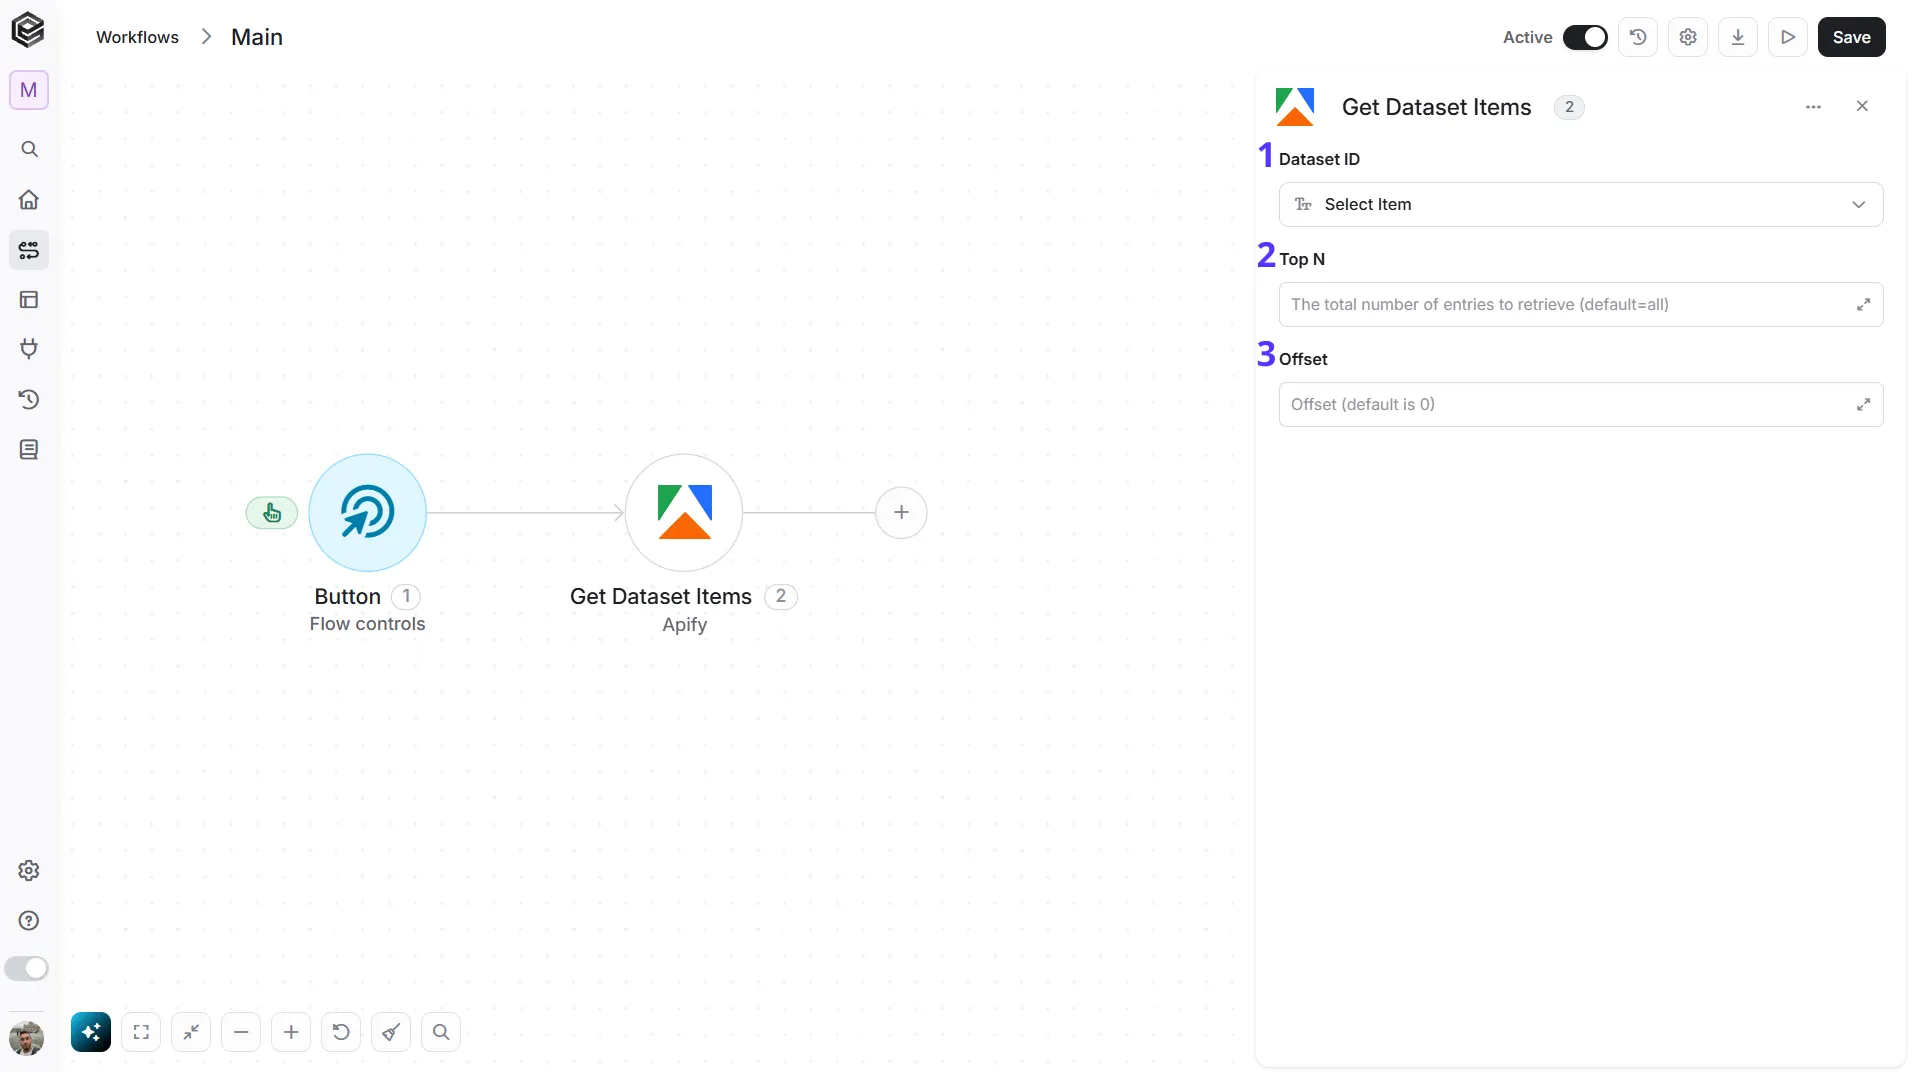
- Dataset ID - Click the empty field to open the tooltip, then choose a dataset, or map the Dataset ID returned by a previous Apify step, such as Run Actor, Get Run or a trigger.
- Top N - You can set the maximum number of records Engini will return for the object you chose (default = all records).
- Offset - The offset parameter allows you to skip a certain number of records from the beginning of the result set (default = 0 records).
Each Actor decides the fields of its items, so the content of a dataset differs from one Actor to another.
Get KV Store Record
Retrieves one record from an Apify key-value store. Actors often use a key-value store for a single result, such as the OUTPUT record, or for files like screenshots.
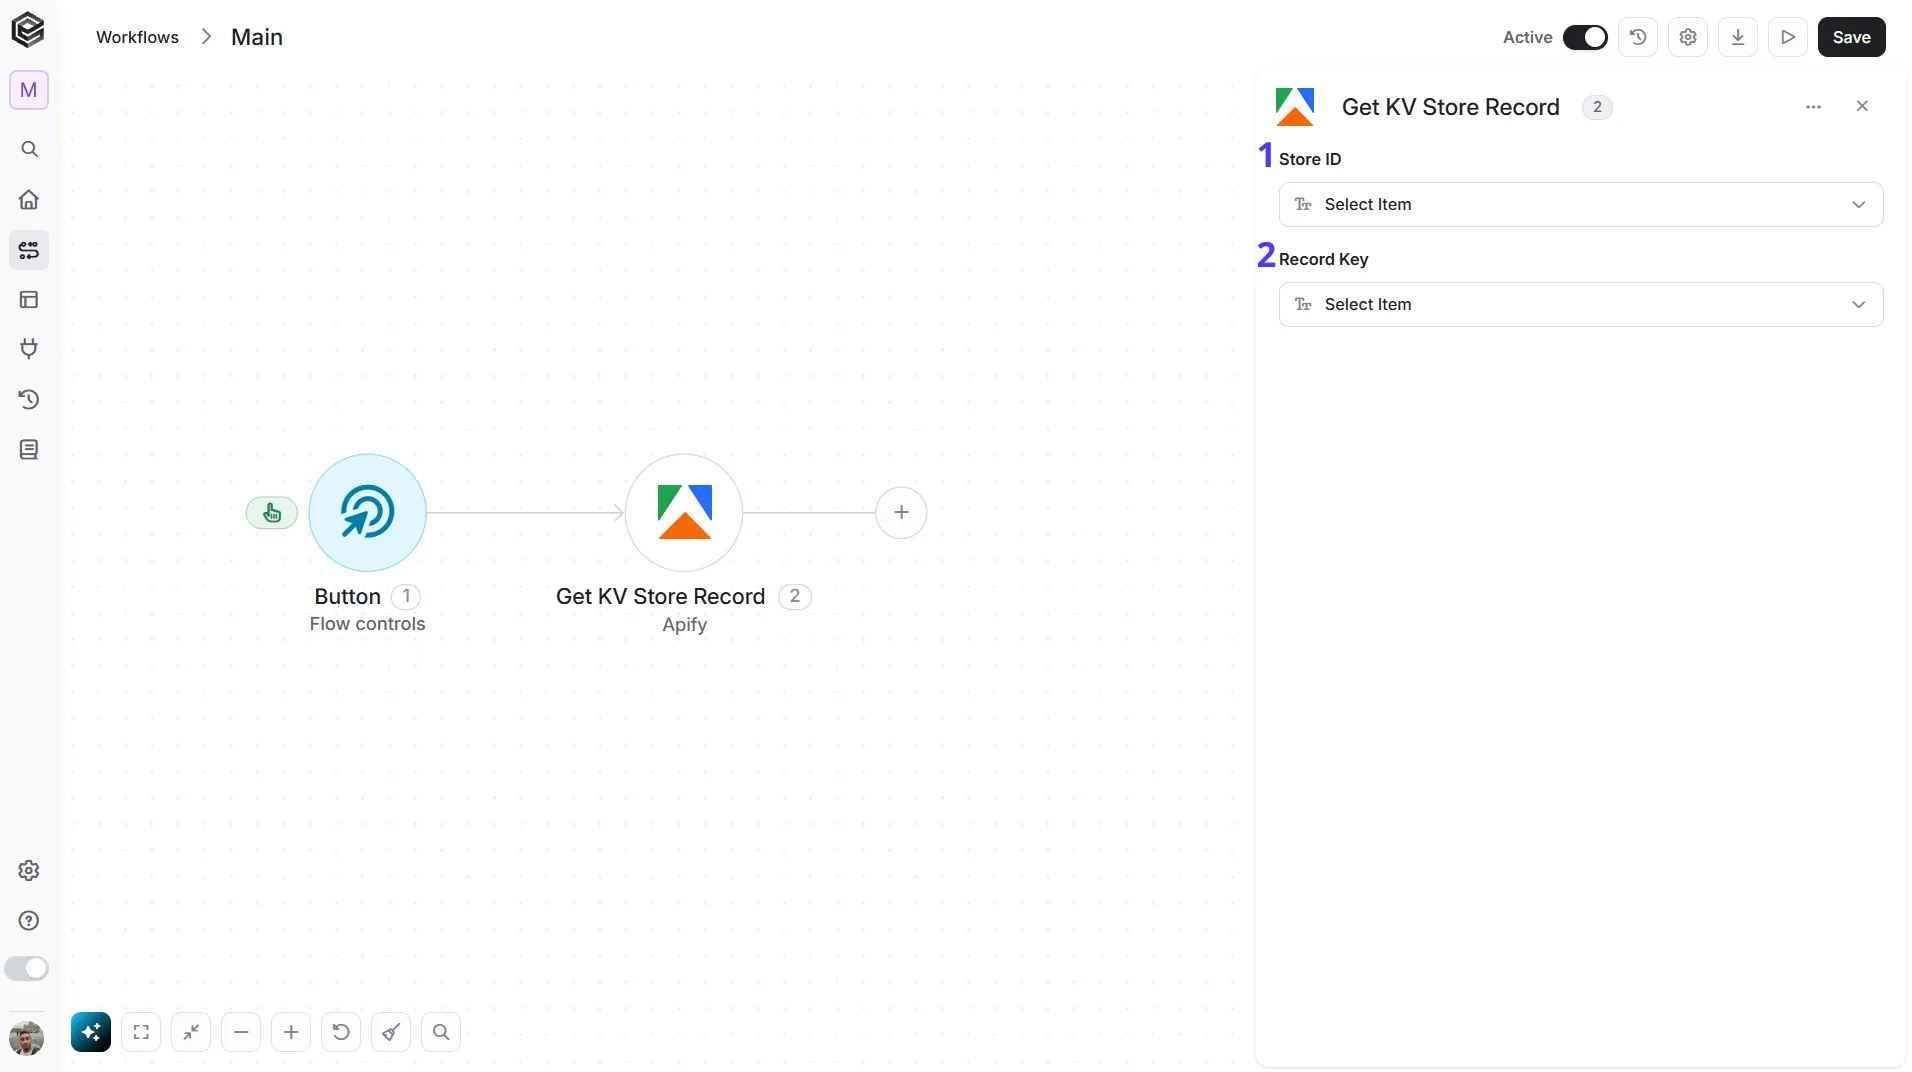
- Store ID - Click the empty field to open the tooltip, then choose a key-value store, or map the KV Store ID returned by a previous Apify step.
- Record Key - Click the empty field to open the tooltip, then choose the key of the record you want to retrieve, for example OUTPUT. The tooltip shows the keys of the store you selected in the Store ID field, so fill in Store ID first.
The record is returned exactly as it is stored. Its content depends on the record: it can be JSON, plain text or another format.
Get Run
Retrieves the status and details of an Actor or Task run. Use it to check whether a run you started has finished and where it stored its results.
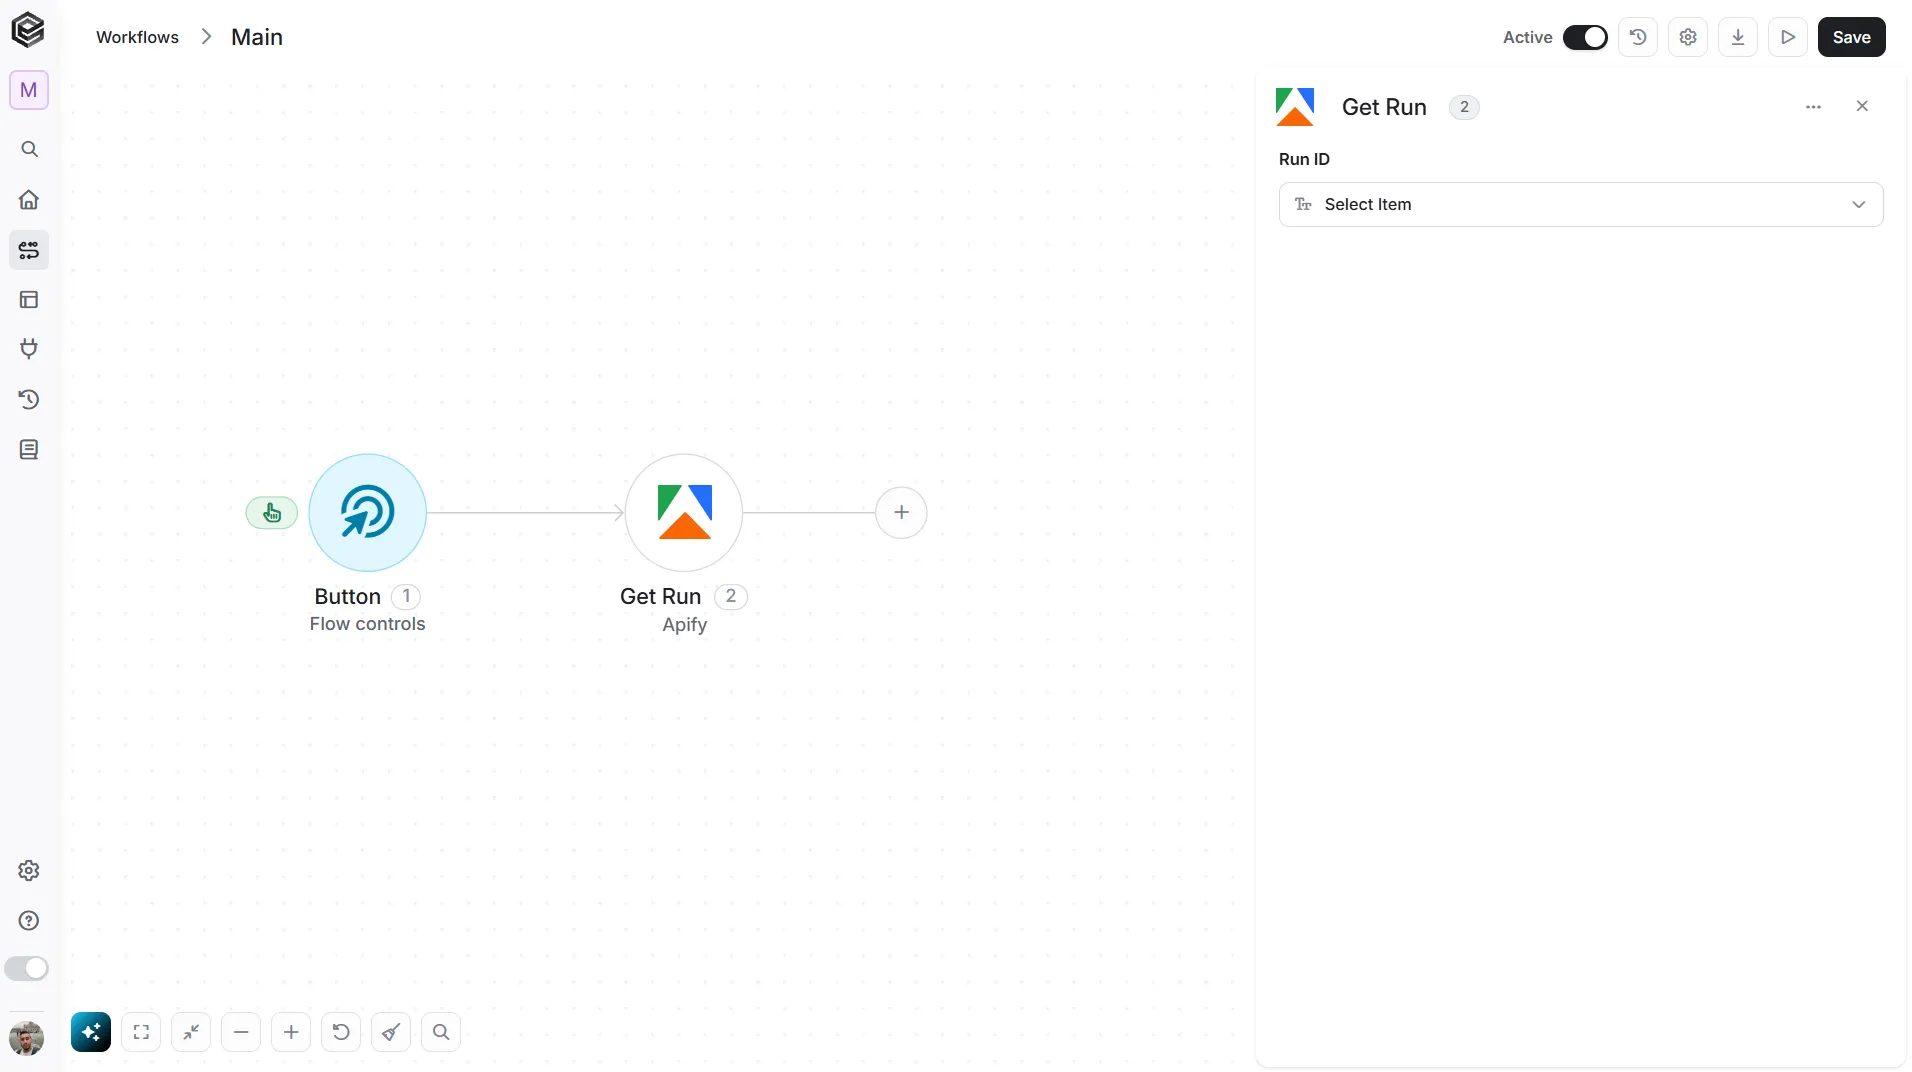
- Run ID - Click the empty field to open the tooltip, then choose a run, or map the Run ID returned by a previous Run Actor or Run Task step.
The action returns the run’s status, for example READY, RUNNING, SUCCEEDED, FAILED or ABORTED, together with the Dataset ID and KV Store ID where the run stored its results. Use those in a later Get Dataset Items or Get KV Store Record step.
Run Actor
Starts a run of an Apify Actor. The action continues as soon as the run starts, or after up to 60 seconds if you set Wait For Finish.
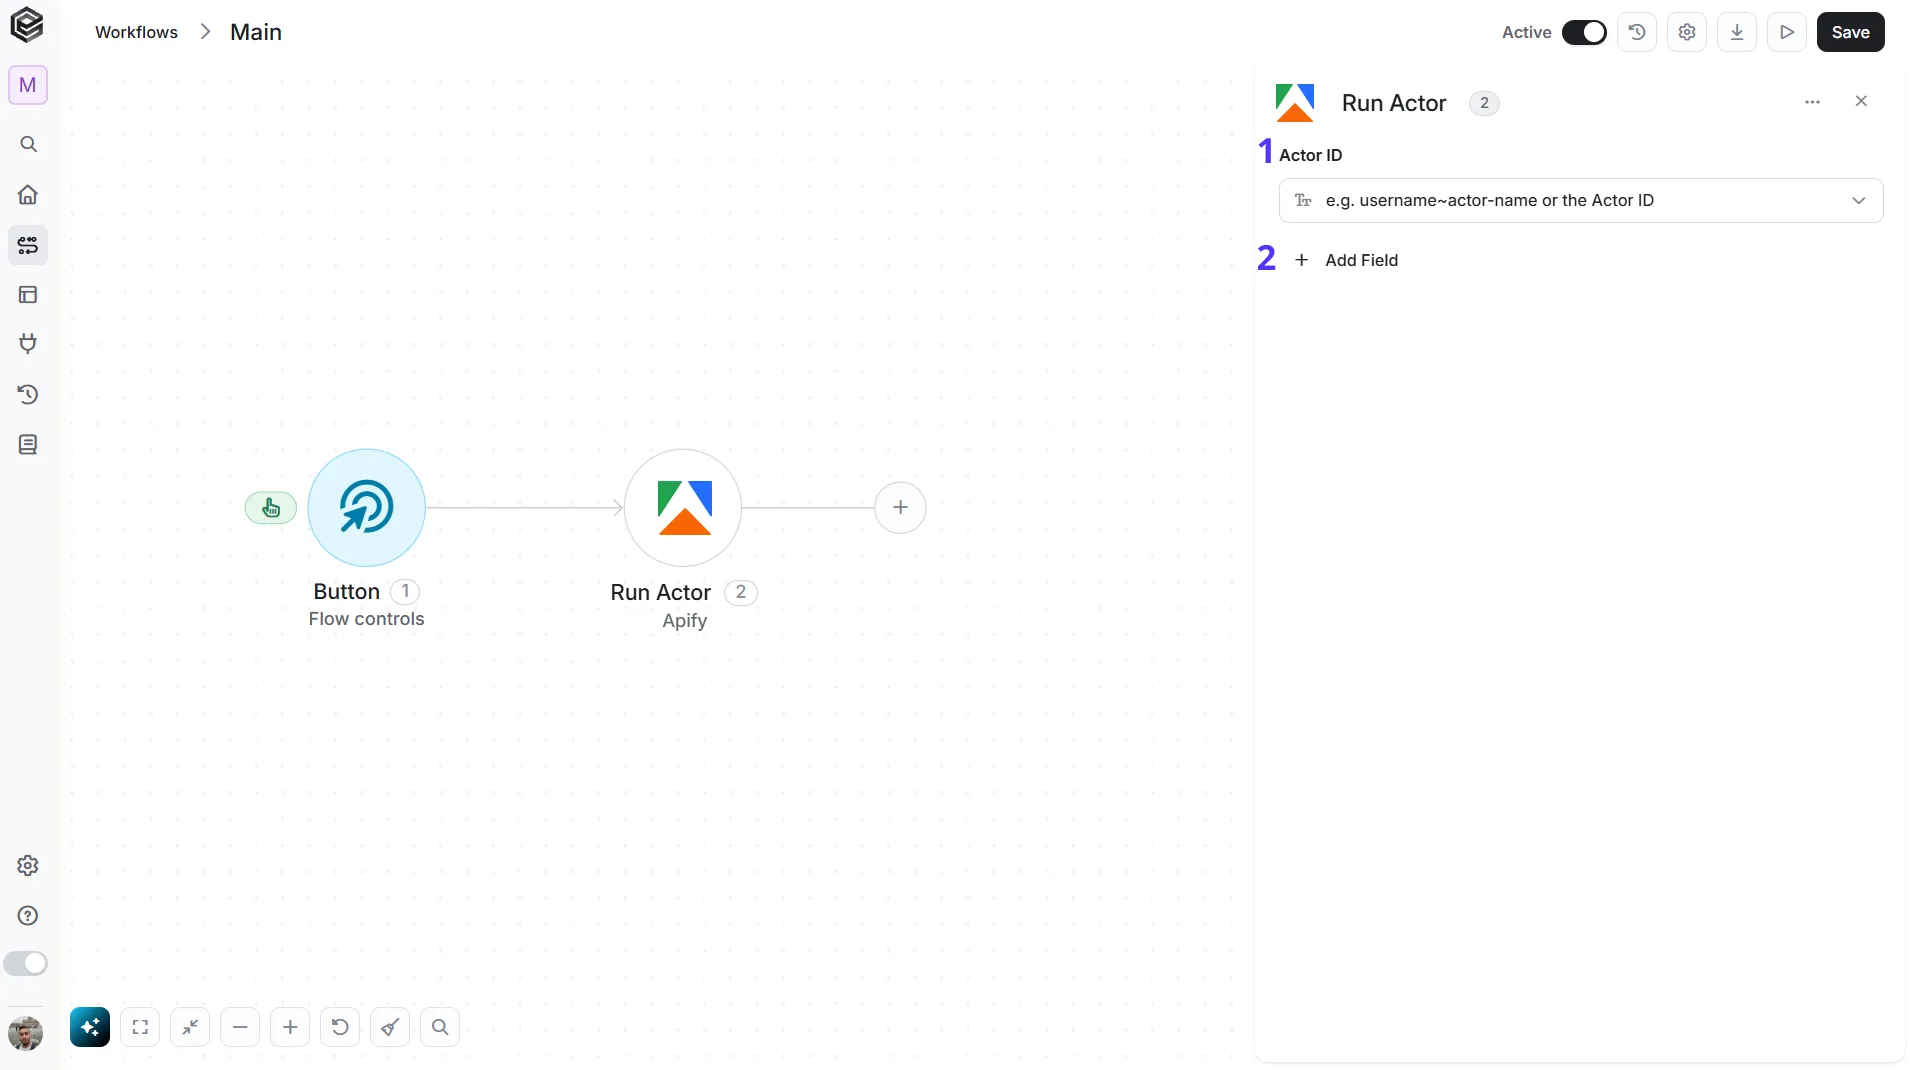
- Actor ID - Click the empty field to open the tooltip, then choose an Actor, or enter its ID. You can also enter the Actor’s name in the form username~actor-name, for example apify~hello-world.
- Add Field - Click Add Field to add and populate additional fields for the selected activity. To learn more about managing activity data, click here.
All of the following are optional and are added through Add Field:
- Build - The tag or number of the Actor build to run.
- Memory - The memory for the run, in MB. The value must be a power of 2, for example 1024 or 4096.
- Timeout - The maximum run time, in seconds. Enter 0 for no timeout.
- Wait For Finish - The number of seconds Engini waits for the run to finish before continuing, up to 60. If left blank, Engini continues as soon as the run starts.
For a run that takes longer than 60 seconds, use Get Run with the returned Run ID, or the Actor Run Finished trigger, to continue when the run is done.
Run Task
Starts a run of an Apify Task, which is an Actor with a saved configuration and input. Use it instead of Run Actor when you want to reuse the same settings every time.
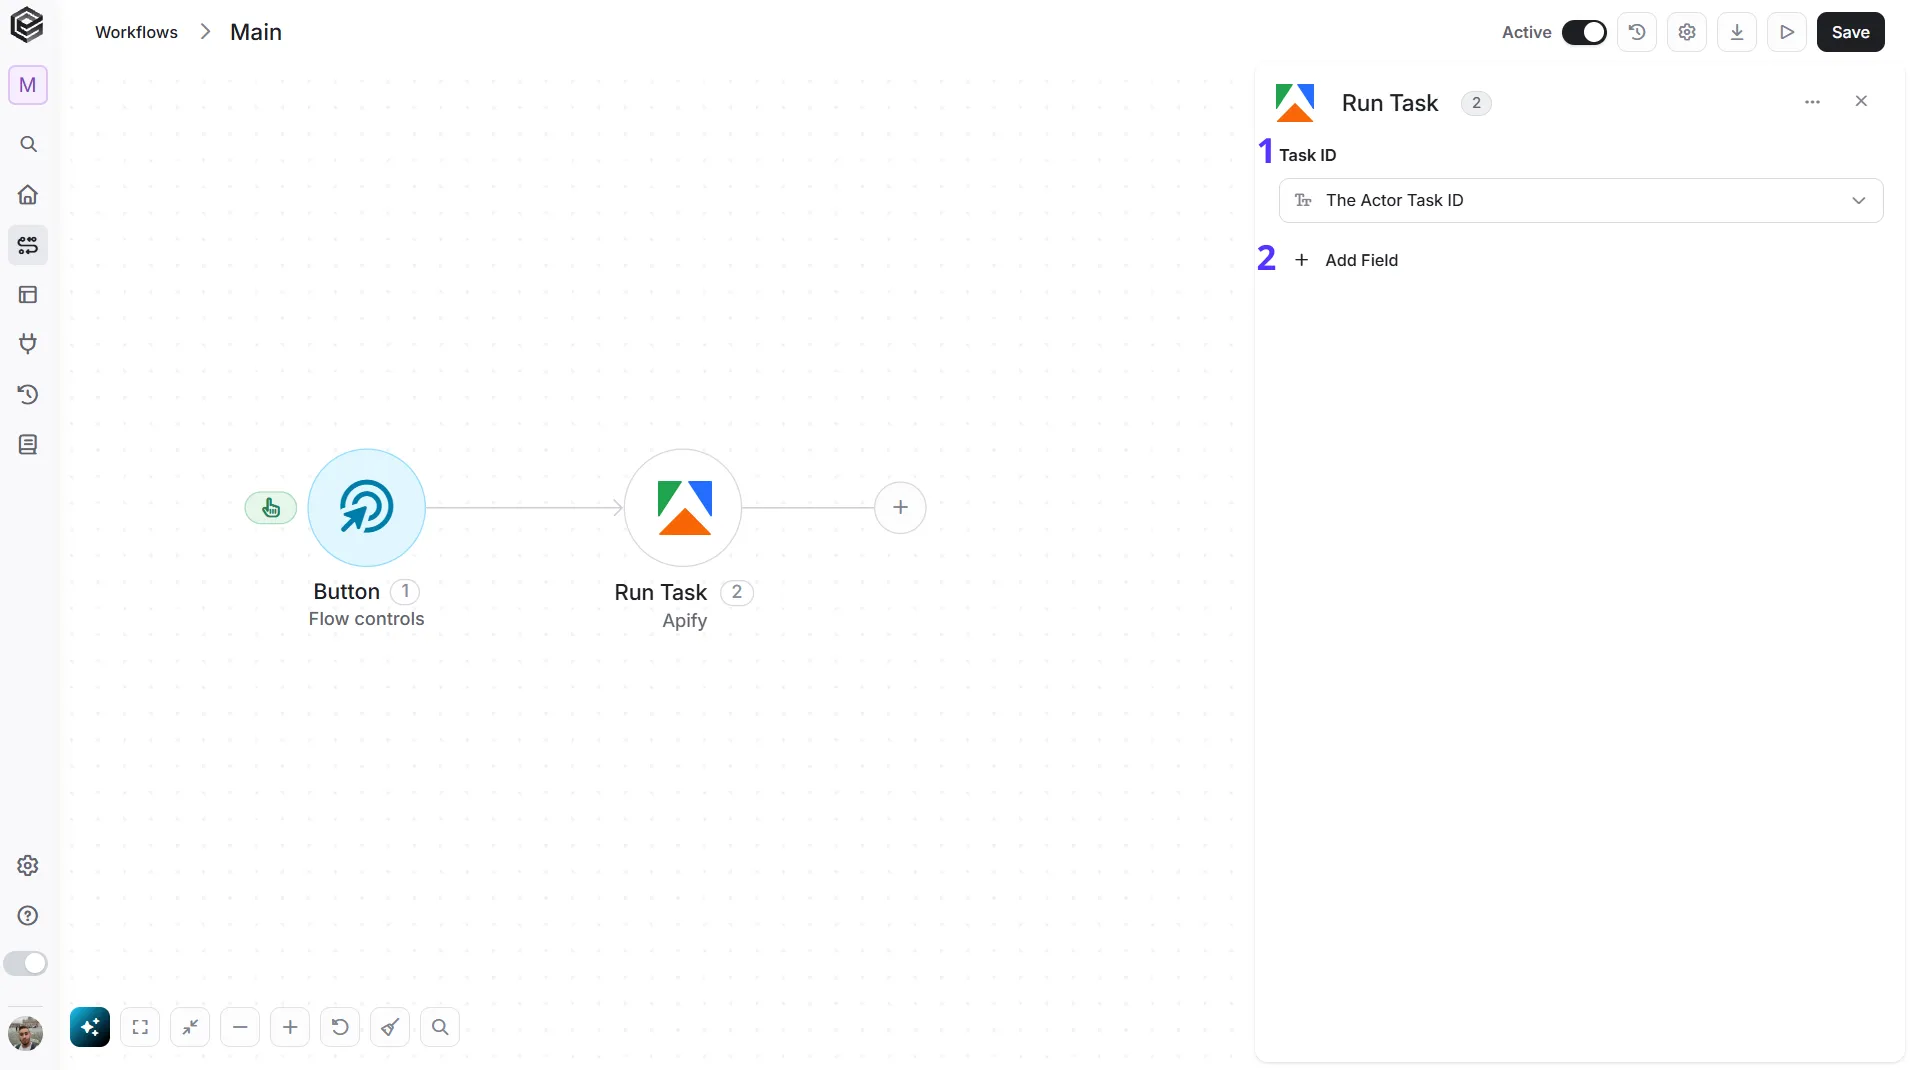
- Task ID - Click the empty field to open the tooltip, then choose a Task, or enter its ID.
- Add Field - Click Add Field to add and populate additional fields for the selected activity. To learn more about managing activity data, click here.
All of the following are optional and are added through Add Field:
- Build - The tag or number of the Actor build to run.
- Memory - The memory for the run, in MB. The value must be a power of 2.
- Timeout - The maximum run time, in seconds. Enter 0 for no timeout.
- Wait For Finish - The number of seconds Engini waits for the run to finish before continuing, up to 60. If left blank, Engini continues as soon as the run starts.
For a run that takes longer than 60 seconds, use Get Run with the returned Run ID, or the Task Run Finished trigger, to continue when the run is done.
Send Api Request
This activity allows you to send a custom API request directly to Apify’s API. Use it for Apify features that the actions above don’t cover, such as listing or creating Tasks.
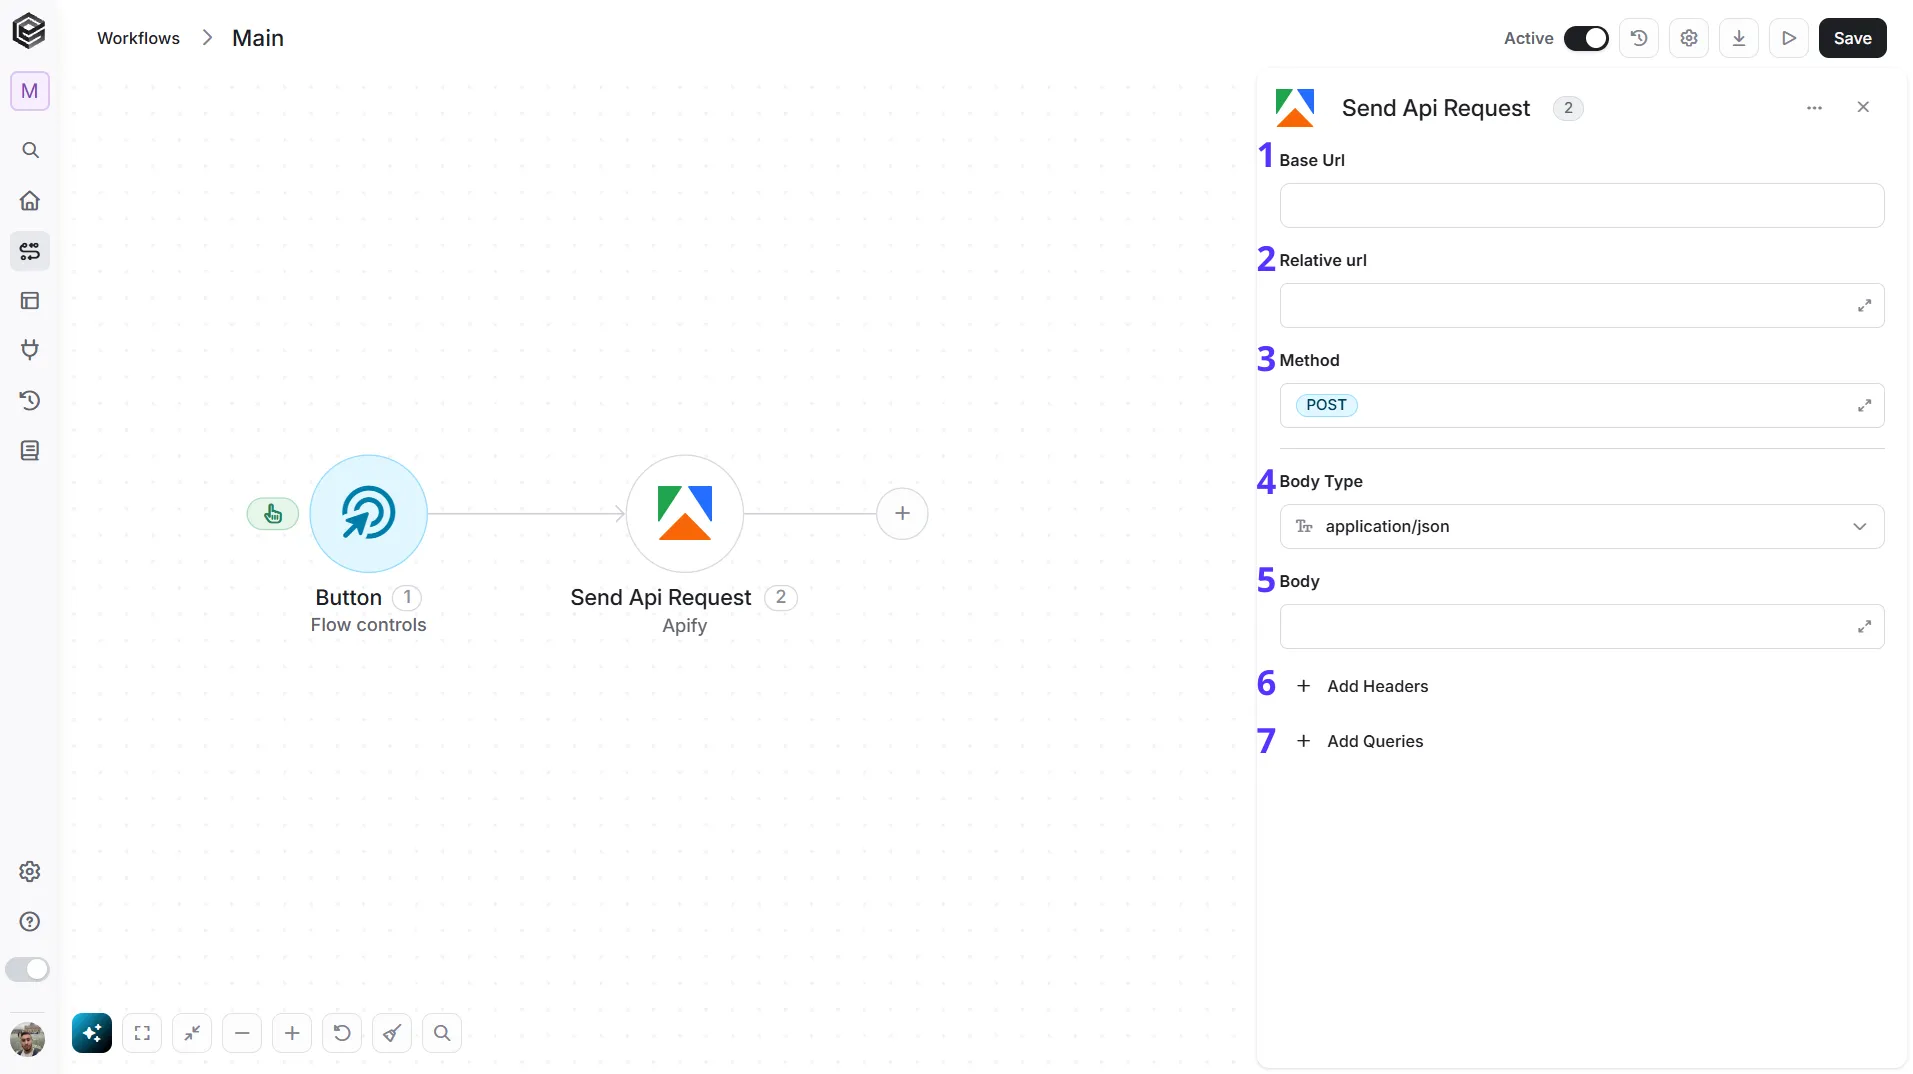
- Base Url – The root URL of the Apify API. It is filled in from your Apify connection and can’t be edited here.
- Relative url – You can specify additional path segments or parameters that need to be added to the end of the Base Url. This allows you to customize the specific request you want to perform.
- Method – Select the HTTP method (e.g., Get, Post, Put, Delete, Patch). The default is POST.
- Body Type – Defines the format of the data in the body of your request. The default, application/json, means the body contains a JSON-formatted payload.
- Body – Contains any data that is being sent to the server.
- Add Headers – Additional metadata about the request, such as the type of data the Engini can accept, the length of the request body, and authentication information.
- Add Queries – The query refers to the parameters or data that are included in the URL of an HTTP request to provide additional information or instructions to the server.
Engini adds your connection’s token to every request as an Authorization header, so you don’t need to add it to the headers.
For the full list of endpoints, see the Apify API reference.